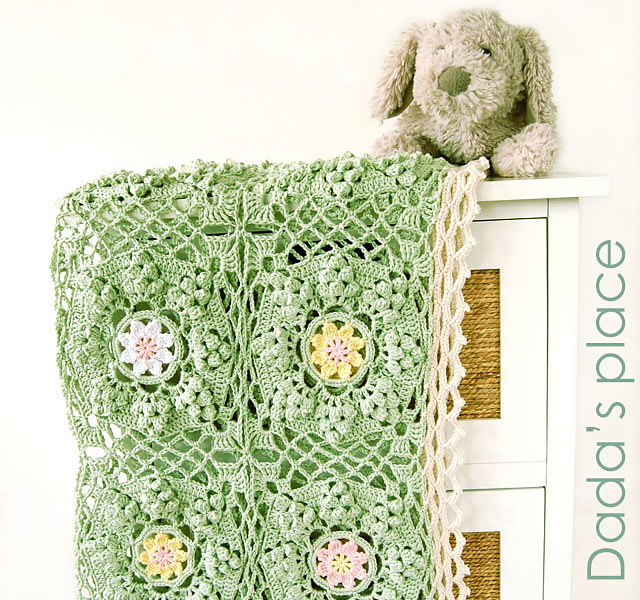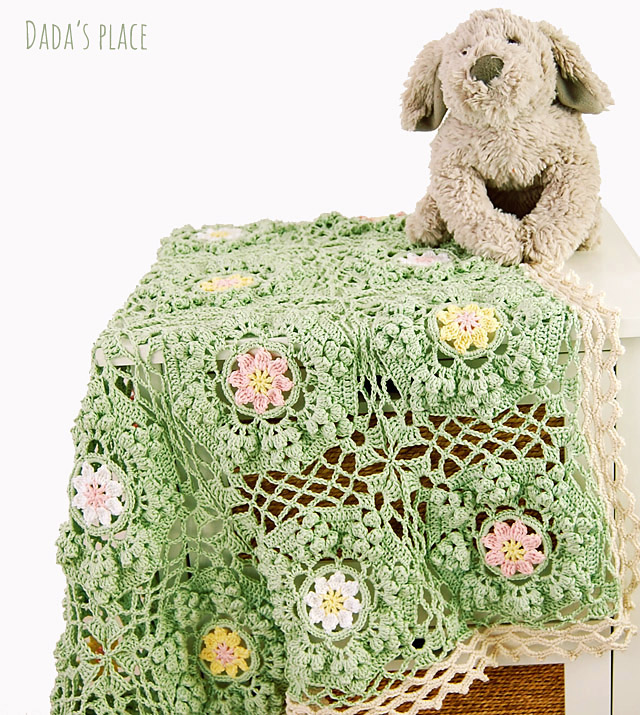
And here it is, the final part of the How to be a Wildflower blanket tutorial. Hope you’ve already tried to make some squares and joined them together.
You can find the tutorial for the square here. When you learn how to make a square, click here to see how to join them together.
*
And now, we’re going to learn how to make this simple border.

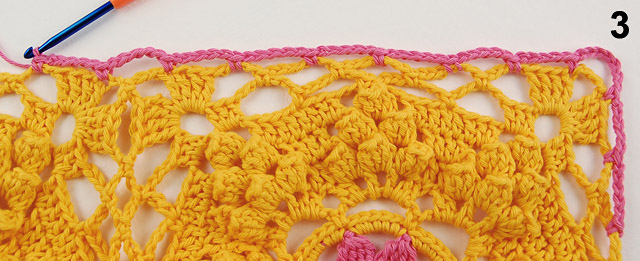
1. Start the border at the last ch-6 space before the left corner of the blanket. Make standing sc.
2. Make ch-5, sc into the next ch-4 space, ch-5, skip the next 3 tr, sc in the next tr, ch-7, sc in the next tr, ch-5, sc in the next ch-4 space;

3. *[ch-5, sc in the next chain-6 space] 3 times, ch-5, sc in the next ch-4 space, ch5, skip the next 3 tr, sc in the next tr, ch-5, sc in the next tr, ch-5, skip the next 3 tr, sc in the next ch-4 space; Repeat from * around the blanket. In corners repeat the procedure from picture 2.

4. When you reach the beginning of the row, join with slip stitch to standing sc.
5. Make 7 sc in the next 2 ch-5 spaces, 9 sc in the next ch-7 space (the corner), 7 sc in the next 2 ch-5 spaces;

6. Continue making 7 sc in each ch-5 space and 9 sc in corners, until you reach the beginning of the row.
7. Join with slip stitch to the next sc, and make slip st in the next 3 sc.

8. Make ch-5, skip the next 6 sc, sl st in the next sc, ch-6, skip the next 6 sc, sl st in the next sc,ch-6, skip the next sc, sl st in the next sc, ch-6, skip the next 6 sc, sl st in the next sc;

9. * ch-5, skip the next 6 sc, sl st in the next sc;
10. Repeat from * around the blanket; In corners repeat the steps from picture 8;

11. When you reach the beginning of the row, make ch-3, dc in the fourth sl st (look at the previous picture);
12. Begin the next row by making 3 sc over the post of dc we’ve just made;

13. Make 7 sc in the next ch-5 space;
14. Make 8 sc in the next 3 ch-6 spaces;

15. Continue making 7 sc in each ch-5 space and 8 sc in ch-6 spaces of the corners,
16. until you reach the beginning of the row.

17. Make 4 sc in the next ch-3 space.
18. make ch-6, skip the next 6 sc, sl st in the next sc;

19. ch-6, skip the next 6 sc, sl st in the next sc, ch-6, skip the next 6 sc, sl st in the next sc, ch-6, skip the next 2 sc, sl st in the next sc, ch-6, skip the next 6 sc, sl st in the next sc;
20. *ch-6, skip the next 6 sc, sl st in the next sc; Repeat from * around the blanket. In corners repeat the steps from the previous picture;

21. until you reach the beginning of the row;
22. make ch-3, skip the next 6 sc, make tr in the next sc;
23. work 4 sc over the post of tr you’ve just made;

24. make 4 sc in the next ch-6 space. Now, we’re going to make a picot stitch, so make ch-3. The needle indicates where you should make sl st, it’s the fourth stitch from the hook.
25. Insert the hook through both loops of that stitch, yo and draw the yarn through the stitch and through the loop on your hook.

26. Make 4 sc in the same space;
27. * make [4 sc, picot, 4 sc] in the next ch-6 space; repeat from * around the blanket,

28. and in corners,
29. until you reach the beginning of the row.

30. Make 4 sc in the last chain space, then picot stitch.
31. Now, we’re going to make an invisible join, so cut the yarn and pull it through the stitch. Thread the tapestry needle. Skip the first sc, and insert your needle through both loops of the next sc, from back to front and pull it through.

32. Insert your needle back through the last stitch you made, through back loop only and pull it through.
33. Wave in the yarn end.
*
Hope you’ll like the tutorial. If you make your own How to be a wildflower blanket please share it on Facebook or Instagram using #howtobeawildflowerblanket hashtag.

I would really, really, really appreciate it if you also added your finished blanket into your Ravelry projects. I will chose the best photos and post it among the other pictures on the pattern page, so everybody will be able to see it.
*
This pattern is written & designed by me, Dragana Savkov Bajic. Please do not claim the pattern as your own, do not share, translate, or publish this pattern or parts of this pattern anywhere without my permission. You can sell the finished product for this pattern. Please give credit to me as a designer for the pattern and if you sell them online, please provide a link to my website.
*
The first part of the tutorial: How to make the square is available here.
The second part of the tutorial: How to join the squares is available here.

Click here to check out my other free crochet patterns and step-by-step tutorials.
Thank you so much! i just finished this blanket for my baby girl who is on the way 🙂 beautiful pattern