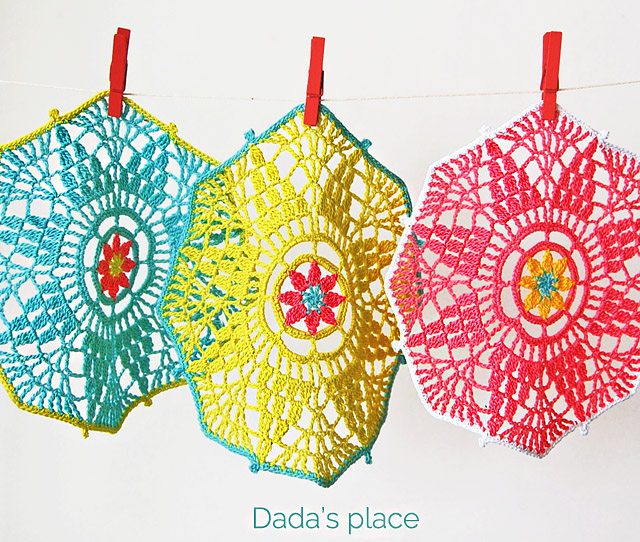
I bet that you love free crochet patterns! But maybe doilies are not exactly your jam. I know. I’ve been there. But, doilies are so fun to make! Believe me! I think that they are ideal crochet projects for any beginner, because they are quite quick to make, and you can have that sweet feeling of accomplishment after just several hours of your effort. Plus they are beautiful!
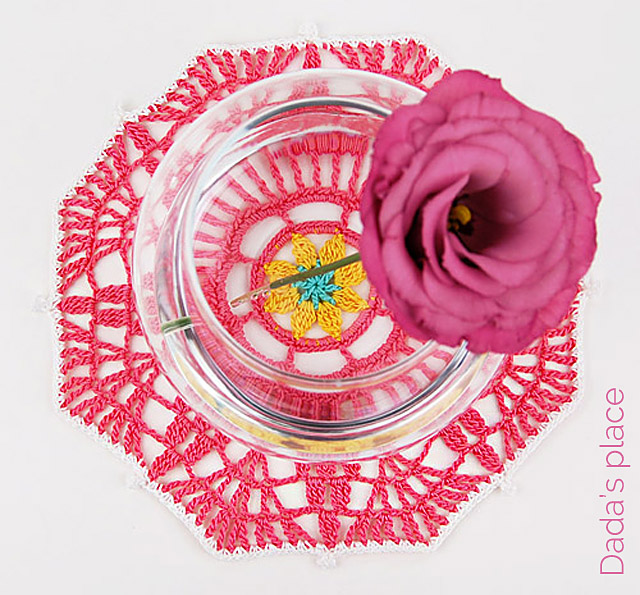
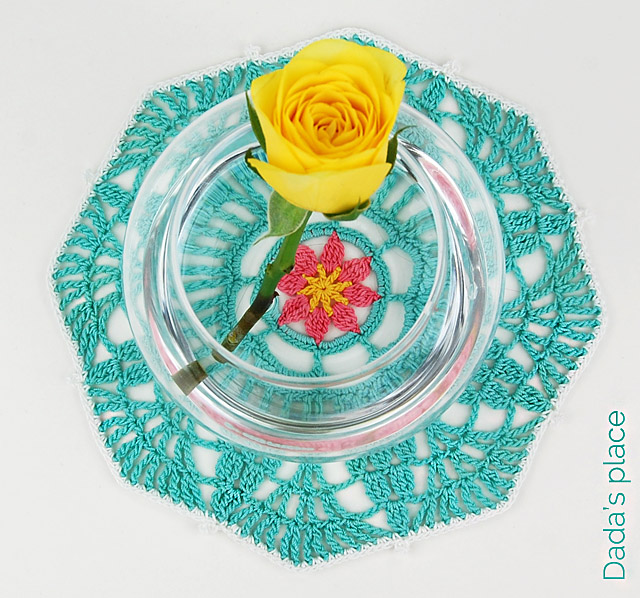
Simple and elegant, this doily is the perfect crochet project for beginners. Or ideal project for a lazy and relaxing weekend… You can make this doily to treat yourself, or you can tell someone how important he/she is by gifting them this beautiful handmade doily.
*
Skill level: Beginner
Stitches: magic ring, slip stitch, chain stitch (ch), single crochet (sc), half double crochet (hdc), double crochet (dc), treble crochet (tr), 4tr bobble stitch, 3tr bobble stitch, picot-4 stitch, standing single crochet
Crochet hook: 2mm (USA – size B1)
Size: 18 x 18 cm (7” x 7”)
Crochet terms: standard US crochet terms
Yarn: thread for doilies 100% cotton, 530m/100g – you will need approximately 10 g of the main color.
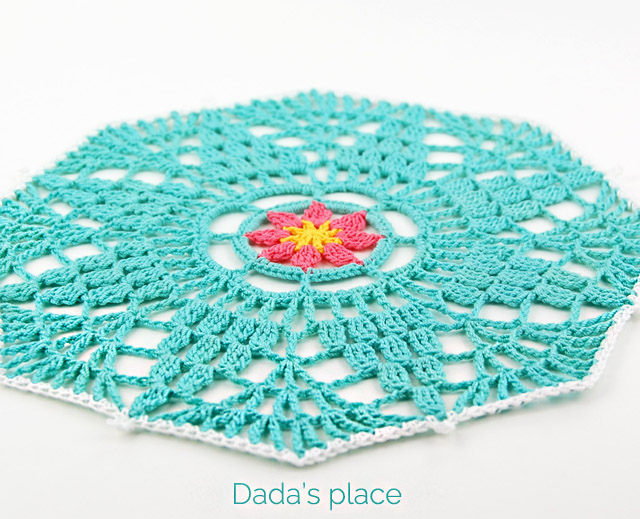
So, let’s get started!

Start with a magic ring. Make ch-4 in ring (counts as dc + ch-1) (1),
dc in ring, ch-1 (2),
[dc in ring, ch-1] x 6 (3);
pull the yarn tail and close the ring. You should have 8 dc with ch-1 between each dc (4);

Join with slip st to the third chain of the initial ch-4; Fasten off (5).
Take the yarn you want to use for the petals. Attach the yarn in any ch-1 space and make ch-4 (counts as the first tr in bobble stitch) (6);
Now, we’re going to make an “incomplete” tr – yo twice, insert the hook into the same space, yo, pull up a loop, [yo, draw the yarn through 2 loops] twice. You should have two loops on the hook (7);
make two more “incomplete” tr (itr henceforward) in the same space; now you have four loops on your hook (8);

yo (9),
and draw the yarn through all four loops on the hook. This is our first 4 tr bobble stitch (10);
make ch-5 (11),
then 4 itr in the next ch-1 space; now you have five loops on the hook (12);

yo, and draw the yarn through all five loops on the hook, ch-5 (13);
make * 4 tr bobble stitch in the next ch-1 space, ch-5 (14);
repeat from * five more times; you should have 8 bobble stitches with ch-5 between each bobble (15).

join with slip st to the top of the beginning bobble (16);
Fasten off. We’re going to make a standing sc, so take the background color and make a slip knot on your hook (17).
Make standing sc – (Insert hook into stitch, yarn over, pull up a loop, yarn over, and draw yarn through both loops on the hook) at the beginning of any ch-5 spaces (18).

Make 6 sc in the same space – 7 sc in total (19),
make 7 sc in the next ch-5 space (20),
then 7 sc in the next 6 ch-5 spaces (21);

join with slip st to the standing sc and make ch-9 – counts as hdc + ch-7 (22);
* skip the next 6 sc, and make hdc in the next sc, then make ch-7 (23);
repeat from * six more times (24);

Join with slip st to the second chain of the initial ch-9 (25);
make 9 sc in the next ch-7 space (26);
make 9 sc in the next 7 ch-7 spaces (27);

join with slip st to the first sc and make ch-5 – counts as tr + ch-1 (28);
skip the next sc, make tr in the next sc (29);
[ch-1, skip the next sc, tr in the next sc] x 3, ch-3 (30);

make * tr in the next sc, [ch-1, skip the next sc, tr in the next sc] x 4, ch-3 (31);
repeat from * 6 more times (32);
join with slip st to the fourth chain of the initial ch-5 (33);

make slip st in the next ch-1 space (34).
Now, we’re going to make another bobble stitch. This time 3 tr bobble, so, make ch-4, 2 itr in the same space (35);
yo, and draw the yarn through all three loops on the hook (36);

make [ch-2, bobble in the next ch-1 space] x 3 (37);
ch-3, tr in the next ch-3 space, ch-3 (38);
make * [bobble in the next ch-1 space, ch-2] x 3, bobble in the next ch-1 space, ch-3, tr in the next ch-3 space, ch-3 (39);

repeat from * six more times (40);
join with slip st to the top of the beginning bobble (41);
slip st in the next ch-2 space, make the beginning bobble, [ch-2, bobble in the next ch-2 space] x 2 (42);

ch-3, tr in the next tr, [ch-1, tr in the same tr], x 2, ch-3 (43);
make * [bobble in the next ch-2 space, ch-2] x 2, bobble in the next ch-2 space, ch-3, tr in the next tr, [ch-1, tr in the same tr], x 2, ch-3 (44);
repeat from * six more times (45);

join with slip st to the top of the beginning bobble, slip st in the next ch-2 space, make the beginning bobble, ch-2, bobble in the next ch-2 space (46);
ch-3, tr in the next tr, ch-1, tr in the same tr, [ch-1, tr in the next tr, ch-1, tr in the same tr] x 2, ch-3 (47),
make * bobble in the next ch-2 space, ch-2, bobble in the next ch-2 space, ch-3, tr in the next tr, ch-1, tr in the same tr, [ch-1, tr in the next tr, ch-1, tr in the same tr] x 2, ch-3 (48);

repeat from * 6 more times (49);
join with slip st to the top of the beginning bobble, slip st in the next ch-2 space, make the beginning bobble, [ch-1, tr in the next tr, ch-1, tr in the same tr] x 6, ch-1 (50);
make * bobble in the next ch-2 space, [ch-1, tr in the next tr, ch-1, tr in the same tr] x 6, ch-1 (51);

repeat from * 6 more times (52);
join with slip st to the top of the beginning bobble; fasten off (53).
Make a slip knot on your hook with a contrasting color, then standing sc in ch-1 space before any bobble, make sc in the same space (54);

Now, we’re going to make a picot-4 stitch, so make ch-4; I marked the stitch where you should make slip st. It’s the fifth stitch from the hook (55);
so, pull the hook through both loops of that stitch (56),
yo, and draw the yarn through the stitch and through the loop on your hook (57).

Make 2 sc in the next thirteen ch-1 spaces (58);
* make picot-4, 2 sc in the next thirteen ch-1 spaces (59);
repeat from * five more times (60);

make picot-4, 2 sc in the next twelve ch-1 spaces; We’re going to make an invisible join, now. Cut the yarn and pull it through the stitch (61).
Thread a tapestry needle. Skip the standing sc, and insert your needle under both loops of the next sc, from back to front, and pull it through (62);
Insert your needle back, in the last sc you made, through the back loop only, from front to back, and pull it through. Weave in the yarn end (63).
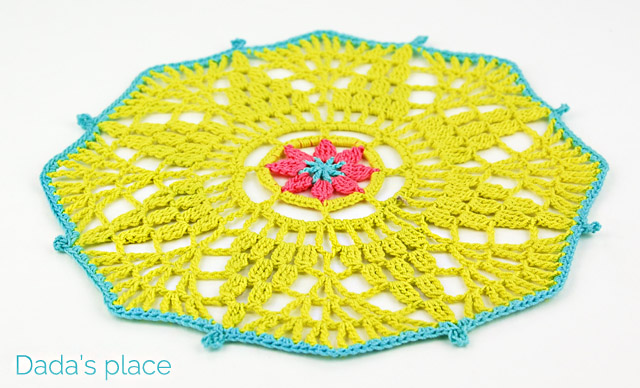
And now you have it! Simple to make, beautiful and modern doily pattern! Hope you will like it! I would love to see your finished creations, so please share them on the Internet, tag me and use #followmedoily hash tag.
Although this pattern is free, it is copyright protected, so please don’t sell or publish this pattern anywhere, don’t translate it, or make YouTube videos without my permission. Thank you for respecting my work.
*
If you’d like to have a printable pdf version of the pattern, you can get it for only $3.97 in Dada’s place shop, here.
*
Happy crocheting!
*
Beautiful work i love this.
Thank you for the pattern ????
Thanks Sabine! I glad you like it!
Thank you for the free pattern this time Iwillmake it better to best.Thank you
You’re welcome!
Draga Dada,
Boje su prelepo izabrane. Volim taj minimalizam. Čestitam na talentu i trudu.
Vesna Panič
Draga Vesna,
Hvala puno na na lepim recima! Jako mi je drago kada vidim komentar na srpskom!
Veliki pozdrav,
xo Dragana
Very interesting session of how to make patterns, could you please show the starting and joining of the crochet.
got to get me some wool that’s for sure l’ll have to get to the Spotlight one of our wool shops over here in NZ thanks for sharing 😀