I’ve just recently started to watch crochet and knitting podcasts, and watching them I discovered project bags. I’m not sure how is it even possible, but I really hadn’t known they existed! Can you imagine that?
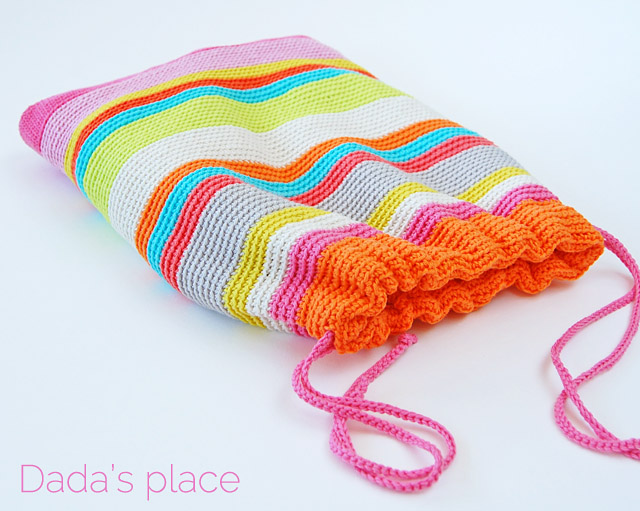
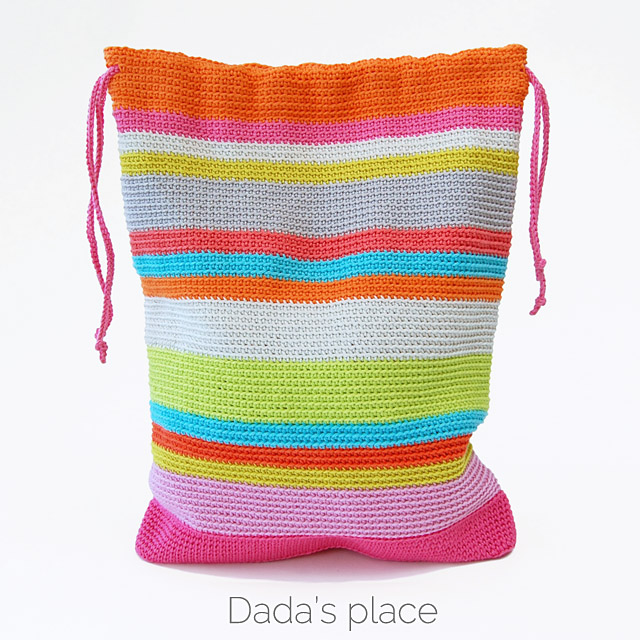
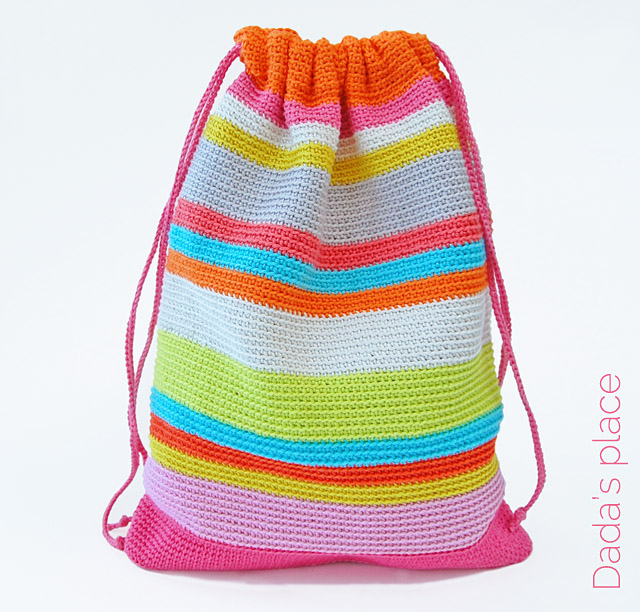
I really liked the idea that when you finish working on your project for the day, you put it away into a beautiful project bag. Nice and neat. So I decided to make at least one for myself. Although all of the beautiful project bags I saw in those podcasts were sewn, and I have some experience in sewing, I didn’t want to sew my bag, I wanted to crochet it. And I did just that. I made myself colorful and happy crochet project bag! And I really like it!
I didn’t put too much thought into how to make it. I just grabbed my crochet hook, some colorful yarn from my stash, and started. Choosing the next color was my favorite part of the process, so I finished the bag quite quickly.
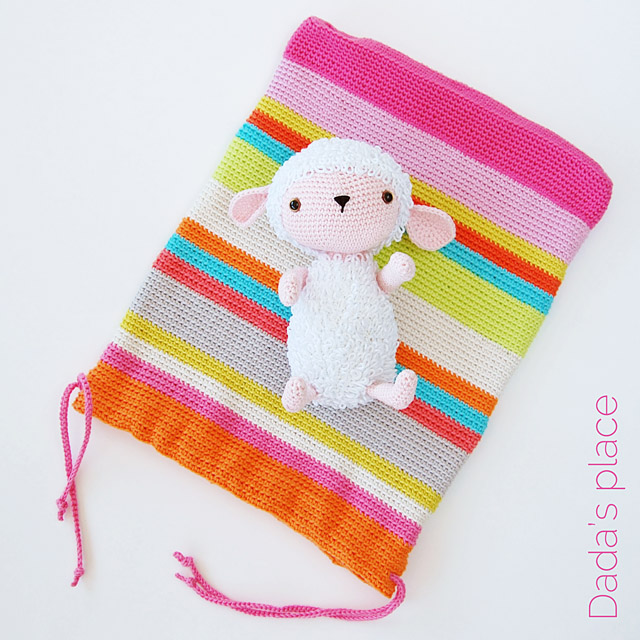
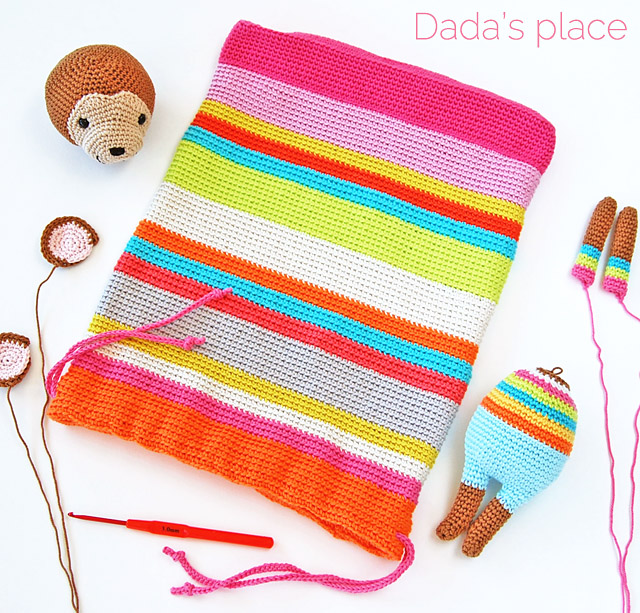
The bag isn’t too big, it’s approximately 26 cm (10″) wide and 33 cm (13″) long, and it’s ideal for smaller crochet projects like amigurimies, scarves, pillows or shawls.
It’s very simple and easy to do crochet project. I worked it in single crochet, made in back loops only.
I started with a long chain of 56 stitches, and then worked around it. After four rows, I stopped increasing and worked the next 82 rows 1 sc into each stitch. I joined the rows with slip stitch.
The yarn: I used 100% cotton yarn “Tango” and “Golf” from St. George, 125m/50g and 3.5 mm crochet hook.
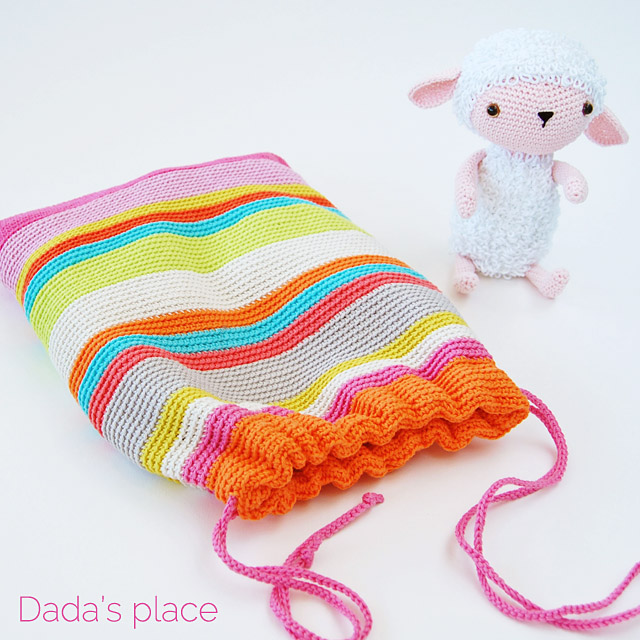
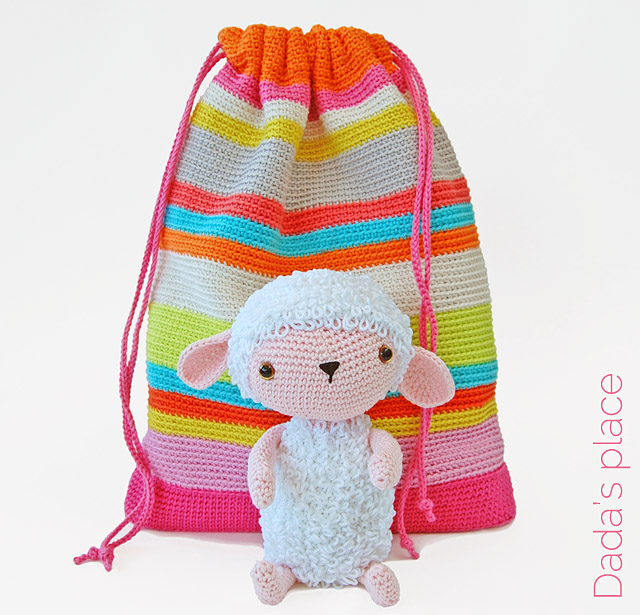
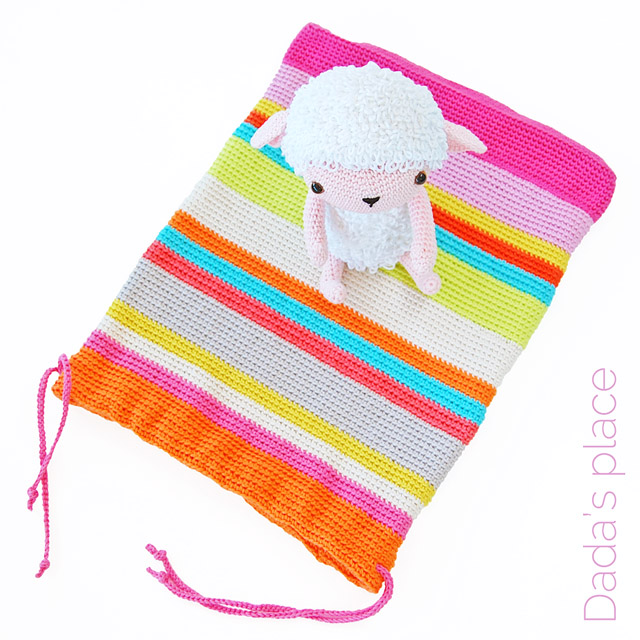
And if you’re wondering who is that cute little sheep helping my photos look more interesting and appealing, it’s Anita, the sheep. I made her using the pattern from the “Amigurumi globetrotters” book by Ilaria Caliri. Nice book, by the way.
P.S. If you’re wondering which are my favorite crochet and knitting podcasts, I would say that my favorite crochet podcast is Potter and bloom, and my favorite knitting podcast is probably Yarngasm.
Great idea! Your color choices are always so cheery and happy!
*** So, you increased for 4 rows….. how many sts per row?
Always look forward to your lovely work, my fave crochet site.
Thank you so much Miri! ?
I added 4 stitches in the corner stitches of the third row, and 8 stitches in forth and fifth row.
Beautiful colourful bag, would you a detailed written pattern for it ?
Thank you Munira, no I don’t have a detailed written pattern, only those instructions on my blog.
Hi, I’m making a project bag like yours and I’d like to know how to insert the drawstring. I’m a beginner and I love your work!
The best way to learn how to do it to watch a video tutorial on that subject. I did that. There are many free very good tutorials on the Internet. Thanks! I’m glad you like my work!
Dada,
Is the bag lines and did you fold the top edge to create the space for drawstring?
thanks
Deepa
No, I didn’t line the bag. Yes, I did fold the top to make the space for drawstring.
So lovely and pretty.
I have recently started to crotch and soon I found your place (again). Your projects gives me so much inspiration and I love how you make everything so happy and colorful.
Looking back I think I bought a pattern (a baby blanket) from your Etsy shop, that I really loved, and had a lot of plans for. But I didn’ t have time to finish it. So I didn´t really start my crotch journey back then.
Now – 3 years (?) later, I have started to crotch and now I am planning to use the yarn previously bought for the baby blanket for other projects. But you never know – I still love the pattern I bought (the baby blanket) so if I get more grand children it might get handy, right now the little girl have become to big for the blanket. <3
But this draw string project bag is a good starting project for me and I can use the yarn Tango for it.
Thanks again for all inspiration and have a lovely day.
Hi Theresa,
Thanks! I glad you like it! Yes, Tango yarn is great for this project! Enjoy!